Leave Your Message
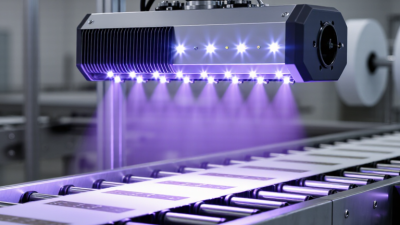
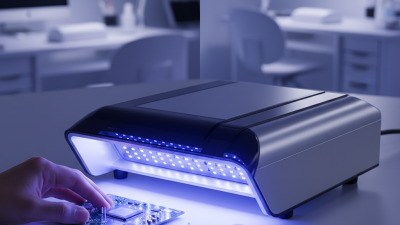
Choosing the right Led Curing Lamps can shape product quality, production speed, and operating costs. The best choice is not always the lamp with the highest output. It must match your material, curing distance, exposure time, and daily workload. A unit that performs well on a small benchtop may struggle across a wider production line.
Look closely at wavelength compatibility. Check that the lamp’s output matches the photoinitiator in your coating, ink, or adhesive. Then consider irradiance at the actual working distance, not only the headline figure in a brochure. Ask for test data, maintenance guidance, and a demonstration using your own materials. Watch for uneven curing at edges or beneath shadowed areas. Small details matter.
A useful rule is: “Buy for the cure at the work surface, not the number on the box.” I can’t verify that wording as a statement from a named industry expert, so it should not be presented as an expert quotation. That distinction matters. Reliable buying advice should be traceable to real test results and qualified sources. This guide will help you compare lamp performance, controls, cooling, service support, and total cost. It will also flag a common uncertainty: supplier specifications do not always predict results on your production floor. Test before committing.
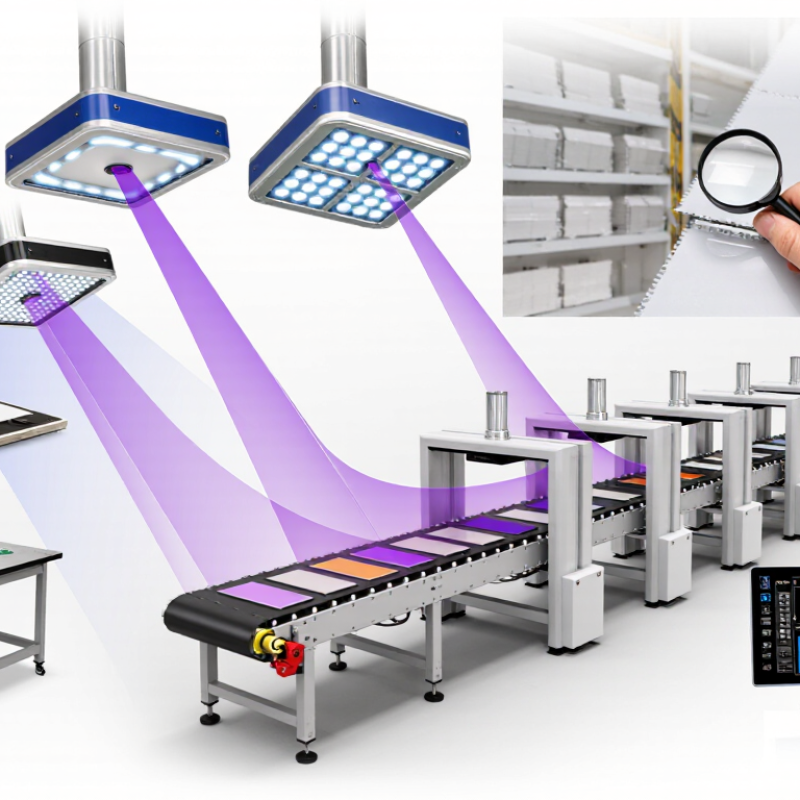
LED curing lamps emit a narrow band of ultraviolet or violet light, rather than the broad spectrum produced by many traditional lamps. Their photons activate photoinitiators in ink, coating, or adhesive, starting a reaction that hardens the material. The CIE’s International Lighting Vocabulary (2020) defines UV-A as 315–400 nm. Many curing systems peak at 365, 385, or 395 nm; some operate at 405 nm, just outside that range. That matters.
Match the lamp’s output to the photoinitiator’s absorption range. A 395-nm lamp may cure one formulation efficiently yet leave another tacky. Check the technical data sheet, then test the actual material and layer thickness. Not just wattage. Measure irradiance at the work surface and track dose, commonly expressed in J/cm². Dose equals irradiance multiplied by exposure time; distance, optics, and lamp aging can change the delivered amount.
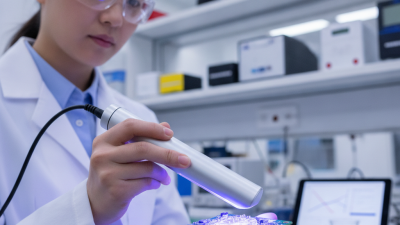
For a practical check, place a calibrated radiometer where the part sits, not beside the lamp. Compare readings across the full curing width. Shadows, pigments, and uneven surfaces can block light, even when the lamp’s display looks reassuring. RadTech’s technical guidance on UV curing likewise emphasizes matching the source, formulation, and process conditions. One limitation remains: a radiometer reading cannot prove that every hidden edge or thick section has cured fully. Test finished parts, and record the settings that consistently work.
| Selection factor | Relevant data | What to check before buying |
|---|---|---|
| How LED curing works | LEDs emit ultraviolet light in relatively narrow wavelength bands. Photoinitiators in a compatible ink, coating, or adhesive absorb that light and start polymerization. | Confirm that the material is formulated for the lamp’s wavelength; matching the formulation’s absorption characteristics is essential for reliable curing. |
| Common wavelength options | Industrial UV LED systems commonly use nominal wavelengths around 365 nm, 385 nm, 395 nm, or 405 nm. Actual output is concentrated around the specified peak wavelength. | Ask for the emission spectrum, not just the peak wavelength. Do not assume a lamp at one wavelength will cure a product designed for another. |
| Irradiance at the work surface | Irradiance is optical power received per unit area, commonly reported in W/cm² or mW/cm². It depends on the lamp, measurement position, working distance, and optical setup. | Compare measured irradiance at the actual curing plane and across the full working width. Request the measurement distance and compatible radiometer details. |
| UV dose and exposure time | Dose, also called radiant exposure, is irradiance multiplied by exposure time. A common unit is J/cm²; 1 W/cm² applied for 1 second equals 1 J/cm². | Test dose at the intended line speed and lamp distance. A high irradiance reading alone does not prove that the required curing dose reaches the material. |
| Wavelength-to-application match | 365 nm is used in some UV adhesive and coating processes; 385 nm, 395 nm, and 405 nm are also used in many printing, coating, and bonding applications. Suitability depends on the specific formulation and process. | Run cure tests with the exact material, substrate, color, and layer thickness used in production. Verify surface cure and cure depth. |
| Lamp format and coverage | Available formats include spot, line, and area systems. The appropriate format depends on part geometry, conveyor width, and whether the process is stationary or continuous. | Check irradiance uniformity over the entire curing area and confirm that edges, recesses, and shadowed surfaces receive sufficient light. |
| Working distance and alignment | Distance and angle affect the light reaching the target. The effect varies with the lamp’s optics and design, so output should be evaluated at the real installation position. | Confirm the permitted working-distance range, mounting tolerances, and whether fixtures or reflectors are needed to maintain consistent exposure. |
| Thermal management | LED systems generally transfer less infrared radiation toward the workpiece than conventional mercury UV lamps, but the LEDs and electronics still generate heat and require thermal management. | Check cooling requirements, ambient-temperature limits, ventilation or water-cooling needs, and the effect of heat on temperature-sensitive materials. |
| Production speed and controls | Exposure time is determined by the illuminated length and the time the workpiece spends beneath the lamp. Some systems support intensity adjustment and integration with production controls. | Validate cure at the minimum and maximum planned line speeds. Check for interlocks, status signals, and repeatable intensity settings. |
| Process validation and safety | UV exposure can harm eyes and skin. Curing performance also depends on formulation, pigment, film thickness, substrate, and oxygen exposure at the surface. | Use appropriate UV shielding and protective measures. Validate cure with suitable process tests and follow the lamp and material suppliers’ safety instructions. |
Note: Wavelength suitability, required irradiance, and dose vary by material and process. Confirm performance with the material supplier and tests conducted under actual production conditions.