What Is a UV Machine for Printing and How Does It Work?
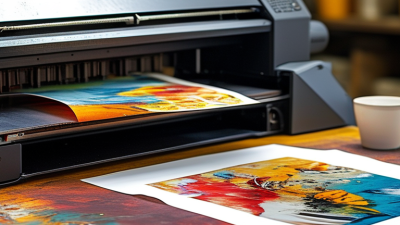
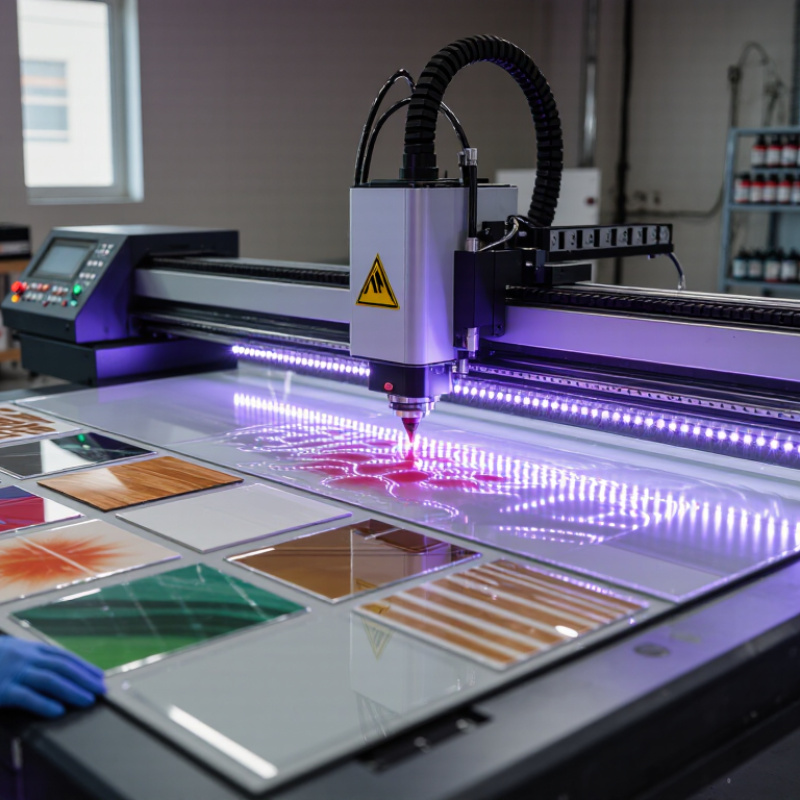
A Uv Machine For Printing uses ultraviolet light to cure ink almost immediately after it reaches a surface. Unlike traditional printers, it does not wait for ink to dry through evaporation. Instead, UV lamps or LED arrays harden specially formulated ink layers during the printing process. The result can feel smooth, raised, glossy, or textured beneath your fingertips.
In practical production, the printer moves a printhead across the material while controlled droplets form text, images, or detailed patterns. A curing unit follows closely behind. It locks the image in place on materials such as coated paper, acrylic, glass, wood, metal, and selected plastics. However, “prints on almost anything” needs careful qualification. Surface energy, heat sensitivity, coating quality, and ink adhesion can change the final result. Small test prints matter.
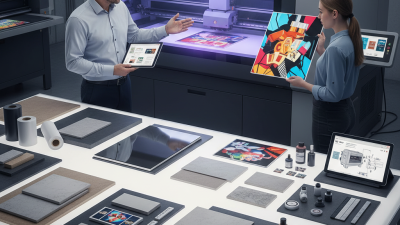
Operators usually prepare the artwork, select an appropriate color profile, adjust ink density, and confirm the substrate is clean and stable. They also monitor lamp intensity, printhead height, and ventilation. These details influence color accuracy, curing strength, and production reliability. From hands-on use, even a sharp image can fail if the surface has dust or fingerprints. That lesson is easy to overlook.
A dependable Uv Machine For Printing offers efficient turnaround and strong visual impact, but it is not an automatic solution. Its performance depends on equipment quality, compatible consumables, operator experience, and regular maintenance. Understanding the complete workflow helps buyers compare machines realistically and avoid expensive assumptions. Some results still require refinement. That is part of the process.
Definition and Core Purpose of a UV Printing Machine
A UV printing machine is a digital printer that places ink directly onto a surface and cures it with ultraviolet light. Its core purpose is simple: create durable, detailed images on materials that ordinary paper printers cannot handle. These materials may include acrylic, glass, wood, metal, ceramic, leather, and coated boards.
During printing, tiny nozzles release controlled ink droplets across the surface. UV lamps then harden the ink almost immediately. This quick curing process helps preserve sharp edges and strong color. It can also support raised textures and selective gloss effects. In practical production, the machine’s value depends on more than print speed. Surface cleanliness, material thickness, ink adhesion, and correct curing intensity all affect the final result. A vivid sample can still fail if the ink scratches easily.
Tips: Clean the substrate before printing. Check its flatness and test a small area first. Use suitable ventilation and follow the machine’s operating instructions. Operators should also inspect the lamps and printheads regularly. These steps reduce banding, uneven curing, and blocked nozzles. Still, testing every new material is wise. One setting rarely works perfectly for everything.
Main Components and Their Roles in the Printing Process
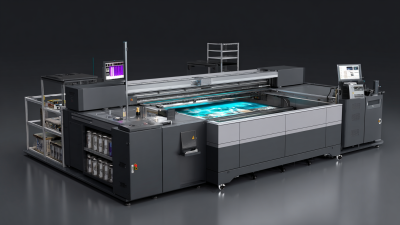
A UV printing machine deposits UV-curable ink onto materials such as acrylic, glass, wood, metal, or coated sheets. Unlike traditional ink systems, the ink hardens almost immediately under ultraviolet light. Its main components include ink reservoirs, printheads, a carriage, UV lamps, a platen, and control software.
The ink reservoirs feed separate color channels to the printhead. Tiny nozzles release controlled droplets while the carriage moves across the surface. Accurate alignment matters because even a small shift can create blurred edges or visible color bands. UV lamps are mounted beside or behind the printhead. They cure each ink layer during movement, helping the image remain sharp and reducing drying time. The platen supports the material and keeps its height stable. Uneven surfaces can weaken detail.
Control software converts the artwork into printing instructions. It manages ink volume, carriage speed, color placement, and curing intensity. In practical operation, these settings require testing. A glossy sheet may need less ink than rough wood. The wrong height can cause misting or poor adhesion. Operators also check nozzle performance, surface cleanliness, and lamp condition before production. Dust is easy to overlook. I would not trust a perfect screen preview alone. A small test patch often reveals banding, weak curing, or unexpected color changes. Even experienced users can misjudge how different materials react to heat, light, and ink.
How UV Printing Works Step by Step
A UV printing machine places ink directly onto a rigid or flexible surface, then cures it with ultraviolet light. The process works differently from conventional solvent printing. The ink does not need extended drying time, so printed details can remain sharp on materials such as acrylic, glass, wood, metal, and coated paper.
The workflow begins with a prepared digital file. An operator checks dimensions, color settings, and the surface profile before sending the file to the printer. The material is cleaned and positioned on the flatbed. Even a small piece of dust can create a visible mark. The print system moves the surface or printhead with controlled precision, depositing tiny ink droplets in programmed layers. White ink may be printed beneath colors to improve brightness on dark or transparent materials. A clear coating can add texture or protection, but it requires careful adjustment.
UV lamps cure each layer almost immediately as the printhead travels. I have found that “instant curing” does not mean every result is perfect. Excessive lamp intensity may affect adhesion, while insufficient curing can leave a weak surface. A test patch helps confirm color, grip, and gloss before production. Operators should also follow ventilation, eye-protection, and equipment-maintenance guidance. Material testing remains essential because temperature, coating, and surface energy vary widely. Sometimes the most professional decision is to slow down and repeat the calibration.
Compatible Materials and Common Printing Applications
What Is a UV Machine for Printing and How Does It Work?
A UV printing machine deposits ink onto a surface, then cures it with ultraviolet light. The ink hardens almost immediately. This process supports sharp images, raised textures, and strong color detail. In practical testing, print quality depends on surface cleanliness, ink coverage, and lamp settings. A perfect image can still fail if the coating is unsuitable.
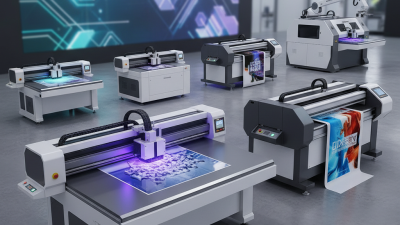
Compatible materials include acrylic, glass, metal, wood, ceramic tiles, PVC sheets, and coated paper. Some machines also handle leather-like materials and flexible films. However, not every surface accepts the same ink formula. Smooth glass may require a primer, while porous wood can absorb ink unevenly. Common applications include indoor signs, retail displays, packaging samples, decorative panels, personalized gifts, and small promotional products. Flatbed systems suit rigid sheets, while roll-fed systems support flexible media.
Tips: Clean every surface before printing. Test a small hidden area first. Check adhesion after curing, not immediately. Flexible materials may need flexible ink. Keep the lamp and printhead maintained. I have found that rushing calibration causes more waste than slow preparation. Even experienced operators can miss dust, especially on dark materials. A stronger color is not always a better result. Reflective surfaces still need careful inspection under different lighting.
Key Benefits, Limitations, and Maintenance Requirements
A UV printing machine sprays ink onto a surface, then cures it with ultraviolet light. The ink hardens almost instantly. This process supports sharp images on plastics, glass, metal, wood, and coated materials. It also reduces drying time, which helps short-run production and customized orders.
The benefits are practical but not unlimited.
UV curing improves scratch resistance and produces strong color detail. It can also reduce waiting space between printing and finishing. Smithers’ 2024 industry analysis identifies continued growth in digital print applications, driven by shorter runs and variable data. However, UV systems often require higher investment and trained operators. Some surfaces still need primers. Printed layers may crack when flexible materials bend repeatedly. Adhesion tests remain essential. I have seen excellent samples fail after cleaning or outdoor exposure. Marketing claims can sound too perfect.
Tips:
Keep the printhead area dust-free. Check nozzle performance before long runs. Store ink within the supplier’s temperature range. Replace filters and lamps according to measured performance, not habit. UV LED systems usually need less routine replacement than traditional curing lamps, but they still require cooling and intensity checks. The U.S. Department of Energy reports that LED technologies generally offer higher efficiency and longer service life than conventional lighting, yet efficiency depends on correct operating conditions. A poorly maintained machine can waste ink, lower curing quality, and create expensive rework. Record cleaning dates, test adhesion, and inspect cured surfaces under strong light.