How to Use Uv Drying Light for Perfect Curing?
In the world of modern curing techniques, the Uv Drying Light stands out for its efficiency and precision. Renowned expert Dr. Sarah Thompson, a leading specialist in UV technology, states, “Using the right Uv Drying Light can transform your curing process, enhancing both speed and quality.” This statement emphasizes the significant impact of choosing the proper equipment.
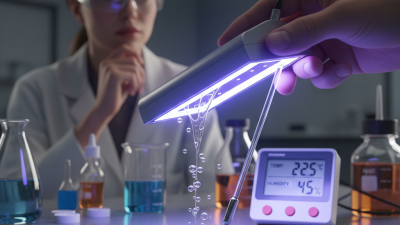
When utilizing a Uv Drying Light, understanding the nuances is essential. Factors such as distance from the light source and curing time can vastly influence results. Many users, however, overlook these details and face inconsistent outcomes. The learning curve is steep, and mistakes can lead to wasted materials and time.
A successful curing process requires attentiveness and practice. Embracing the imperfections and adjusting techniques is part of the journey. The Uv Drying Light can achieve flawless finishes, but one must learn through trial and error. Developing expertise in this area is rewarding, yet challenging.
Understanding UV Drying Lights and Their Benefits
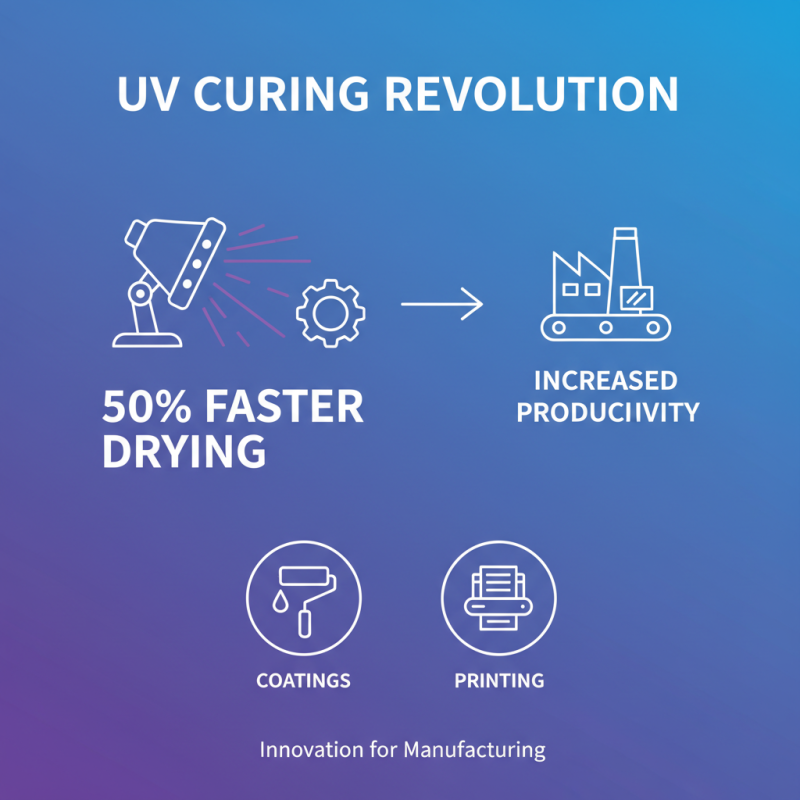
UV drying lights are revolutionizing the curing process across various industries. These lights emit ultraviolet (UV) rays that significantly reduce drying times. Reports indicate a 50% reduction in processing time when using UV technology. This is especially beneficial for manufacturing sectors like printing and coatings.
Understanding the benefits of UV drying lights is essential. They not only enhance efficiency but also improve finish quality. The cured surface is more durable and resistant to scratches and chemicals. However, improper use can lead to uneven curing, requiring further adjustments. This is a common issue, as not every operator has mastered the technology. Regular maintenance is necessary to ensure optimal performance.
Another aspect to consider is energy consumption. While UV lights are efficient, they can involve higher upfront costs. A detailed analysis reveals that businesses may recover costs through increased productivity and reduced waste. It's a balancing act, and companies must evaluate their specific needs and capabilities. The potential for mistakes must be acknowledged. Continuous learning is vital for perfecting the curing process.
Selecting the Right UV Drying Light for Your Needs
Selecting the right UV drying light requires careful consideration. Different projects have unique needs. Understanding the types of UV lights is essential. For instance, some lights focus on specific wavelengths. Others provide a broader spectrum. Each type has its strengths and weaknesses. Knowing these details helps in making an informed choice.
Think about the intensity and exposure time. A higher intensity can lead to faster curing. However, it may also create uneven results. Always test your materials with different intensities. Too much exposure can be just as problematic as too little. Watch for discoloration or damage. It’s crucial to find that perfect balance.
Don’t forget about the size of the drying area. A larger area might require multiple lights. Placement is key too. Shadows can lead to imperfect curing. Experimenting and adjusting your setup can make a significant difference. Sometimes, a little trial and error is necessary. Be open to learning from each batch you cure.
UV Drying Light Efficiency Comparison
This bar chart illustrates the curing time required for different wattage levels of UV drying lights. Higher wattage results in shorter curing times, thus improving efficiency for tasks requiring quick turnarounds.
Step-by-Step Guide to Preparing Items for UV Curing
Preparing items for UV curing is crucial for achieving optimal results. The right preparation can significantly enhance cure quality. Begin by cleaning the surface thoroughly. Dust, grease, or any residue can hinder the curing process. According to industry data, 70% of curing failures are linked to surface contamination.
Next, consider the type of material you are curing. Different materials require varied UV exposure times. For example, plastics may need shorter exposure compared to metals. Experimentation is often necessary to find the ideal time. A report by a leading industry research firm indicated that improper curing times can reduce adhesive strength by over 50%.
It’s also important to position your items correctly under the UV light. Uneven exposure can lead to inconsistencies. Some areas may not cure properly, resulting in weak spots. This is why a reflective surface is beneficial; it helps distribute UV light evenly. Remember, the goal is not just to cure but to ensure longevity and durability of the final product. Adjusting variables like distance from the light source can also affect the final outcome. Experiment, learn, and refine your process over time.
Optimizing Exposure Time for Effective Curing
When using UV drying lights for curing, exposure time is crucial. Too short an exposure can leave your project uncured. It can feel frustrating when your work doesn't meet the desired finish. On the other hand, excessive exposure may create brittleness. Finding that sweet spot can be a challenge.
Start by testing different exposure times. For example, 30 seconds may be ideal for some materials, while others might require a full minute. Keep a log of your results for each material type. This will help refine your process over time. Don’t be afraid to experiment. Sometimes, you may discover that your initial assumptions were off. Observing the curing results closely will guide you.
Also, consider the distance between the light and the item. If it’s too far away, the curing will be uneven. If it’s too close, the surface may overheat. This balance takes practice. It’s easy to overlook details like these, but they play a significant role. Reflecting on past attempts will enhance your future results.
How to Use Uv Drying Light for Perfect Curing? - Optimizing Exposure Time for Effective Curing
| Material Type |
Optimal Exposure Time (seconds) |
Lamp Distance (inches) |
Recommended Wattage |
Curing Effectiveness (%) |
| Acrylic |
30 |
6 |
36W |
90 |
| Epoxy Resin |
60 |
8 |
50W |
85 |
| UV Coating |
45 |
5 |
40W |
92 |
| Gel Polish |
120 |
4 |
48W |
95 |
| Silicone |
90 |
7 |
30W |
88 |
Safety Precautions When Using UV Drying Lights
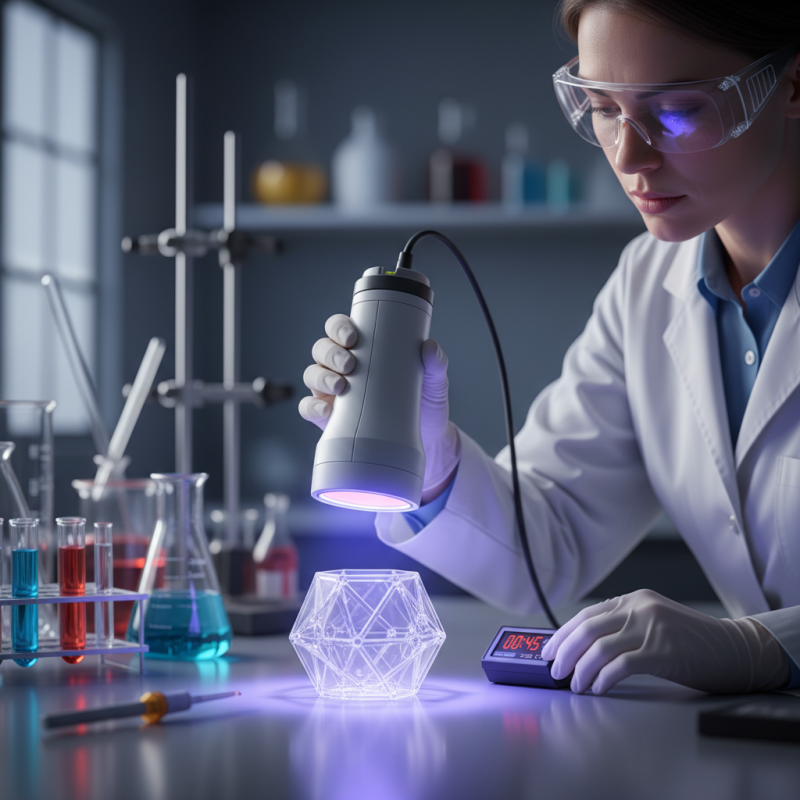
When using UV drying lights, safety should always come first. Protect your skin and eyes from UV exposure. Wear UV-blocking goggles to shield your eyes. Long sleeves and gloves can prevent skin burns. Even brief exposure to UV light can lead to harmful effects. So, be careful, especially if you're new to this process.
Ensure your workspace is well-ventilated. Poor ventilation can lead to the accumulation of fumes. These fumes can irritate your respiratory system. Set up a fan near your working area. It helps maintain airflow and mitigates any unpleasant odors. Always keep the UV light at a safe distance from your skin and materials. Reducing the risk of accidental burns or damage is crucial.
After each session, check for any signs of wear on your equipment. Sometimes, bulbs can burn out unexpectedly. If your light flickers or becomes dim, replace the bulb. Regular maintenance ensures consistent performance. Reflect on your process. Are you following all safety guidelines? Taking shortcuts can lead to regrets later. Maintaining a safe environment allows for better results and peace of mind.