How to Cure with UV Lamp for Perfect Results?
Using a curing UV lamp can greatly enhance your projects. This tool is popular for various applications, from nail art to resin crafts. The process is straightforward yet requires thoughtful execution.
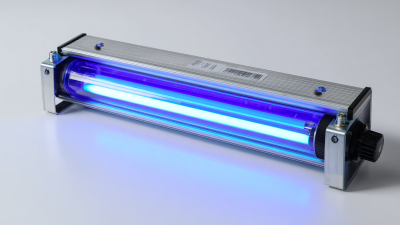
Curing UV lamps work by emitting ultraviolet light. This light initiates a chemical reaction that hardens certain materials. Many users seek the perfect finish. However, there are common mistakes to avoid. For example, overexposure can lead to bubbling. Likewise, not using the right distance can result in uneven curing.
To achieve the best results, patience is key. Understanding the specific materials you’re working with is crucial. Each type may have unique requirements. Experimentation is part of the journey. Curing UV lamp techniques often evolve as you gain experience. Don't hesitate to reflect on your projects. Learning through trial and error ultimately leads to mastery.
Understanding UV Light and Its Therapeutic Benefits
UV light has gained popularity for its therapeutic benefits. It can help with skin conditions, reduce inflammation, and promote healing. Understanding how UV light works is essential. UV rays penetrate the skin, stimulating cellular repair. This process can enhance the skin’s appearance and reduce acne or eczema flare-ups.
When using a UV lamp, it’s crucial to follow safety guidelines. Overexposure to UV light can lead to skin damage. Ensure you set a timer and limit your exposure. Start with short sessions to see how your skin reacts. This approach can minimize risks while still providing benefits.
Here are a few tips for effective use. Always wear protective eyewear to shield your eyes from UV rays. Keep the lamp at a safe distance from your skin. Regularly clean the lamp to avoid contamination. It’s also wise to maintain a skincare routine, as UV treatment works best when paired with good habits. Remember, patience is key; results may take time to appear.
Choosing the Right UV Lamp for Your Needs
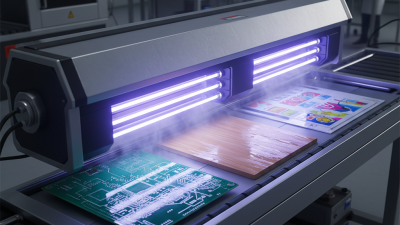
Choosing the right UV lamp for your needs can be a challenging task. There are many options available on the market, each offering different features. It’s important to consider what you will use the lamp for. Are you curing nail polish, resin, or perhaps a different material? Each application may require a specific wavelength or intensity.
When browsing for a UV lamp, look for key features. For instance, the wattage can indicate how quickly the lamp will cure materials. Most lamps range from 9 to 54 watts. A higher wattage typically results in faster curing times, but it’s not always necessary. Check the size as well. If you want to cure larger objects, a larger lamp is essential.
Don’t forget about safety features. Some UV lamps come with timers to prevent overexposure. While these features can enhance efficiency, they also require some adjustment. It's easy to misjudge the timing initially, leading to under-cured items. Pay attention and make adjustments as needed. This trial and error process is part of finding your ideal setup.
Preparing the Area and Safety Precautions
When using a UV lamp, preparing the area is crucial.
Ensure your workspace is clean and well-ventilated. Remove any clutter that could obstruct your process.
UV radiation can cause skin and eye damage, so take safety precautions seriously. Wear protective eyewear and gloves.
It's recommended that you use a workspace covered with a non-reflective surface to minimize unintended exposure.
Tip: Always have a designated area for your UV lamp.
This helps maintain consistency and safety during your sessions.
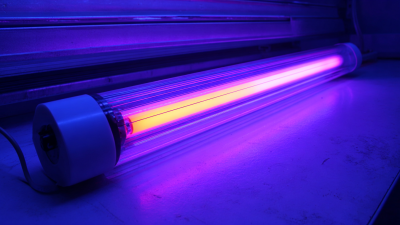
Ensure that the lamp is positioned at the right distance.
Industry standards suggest keeping it between 2 to 6 inches from the surface.
This range maximizes efficiency while minimizing risk.
Consider the duration of exposure.
Overexposure can lead to unwanted results.
A recent study indicated that excessive UV exposure can degrade materials faster than expected.
Use a timer to avoid mistakes. Regularly check the condition of your lamp,
as wear may affect performance. A faulty lamp might not cure effectively, leading to imperfect results.
Step-by-Step Guide to Using a UV Lamp Effectively
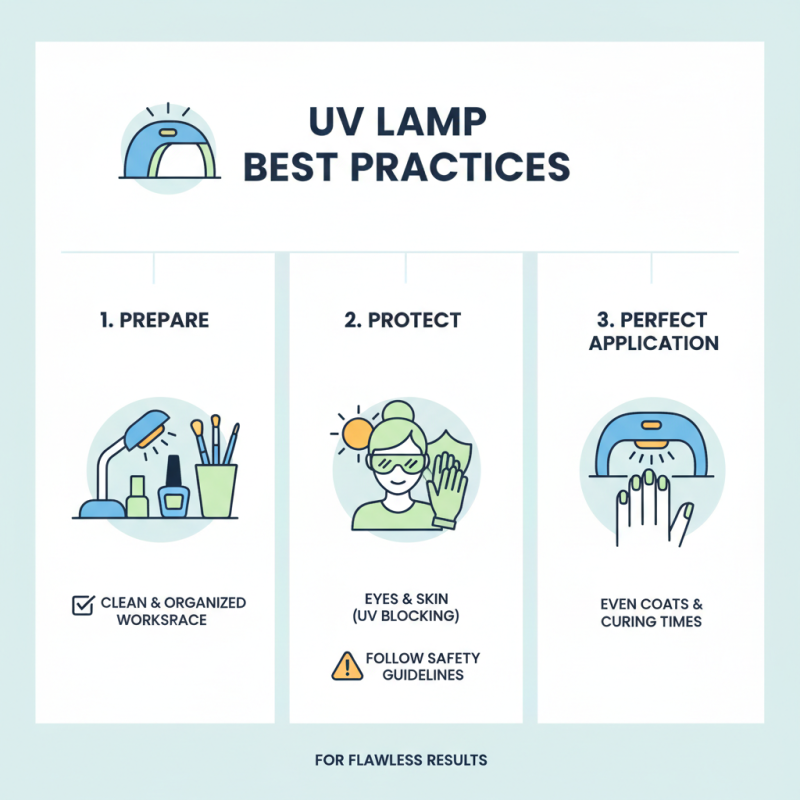
Using a UV lamp can seem straightforward, but achieving perfect results requires attention. Start by ensuring your workspace is clean and organized. A cluttered area can lead to mistakes. Protect your eyes and skin from UV exposure with appropriate coverings. It’s essential to follow safety guidelines every time.
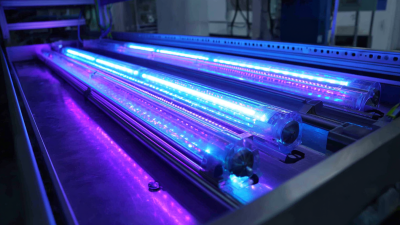
Before turning on the UV lamp, prepare your materials. Apply your product evenly and allow it to settle. This might take time, but rushing won’t help. Position the UV lamp correctly above the item. Ensure there’s enough distance to prevent overheating. You may need to experiment with timing, as different materials react differently.
After curing, check for imperfections. Were there any missed spots? Look closely for bubbles or uneven textures. These details can affect the overall quality. It’s okay to take a few tries to get it right. Reflect on what you can improve for next time. Practice makes better, even if perfection feels out of reach.
Tips for Achieving Optimal Results with UV Therapy
UV therapy can be highly effective, but achieving optimal results requires careful attention to detail. When using a UV lamp, start by ensuring that your skin is clean and free of any products. Oils and dirt can block the UV light, reducing its effectiveness. A gentle exfoliation before treatment may help the skin absorb UV rays better. Remember, excess exfoliation can irritate the skin, so find a balance that works for you.
Timing is crucial for successful treatment. Aim for consistent sessions, but don’t overdo it. Too much exposure can lead to sunburn or irritation. Monitor your skin’s reaction after each session and adjust your frequency accordingly. It’s important to pay attention to how your skin feels. If you notice redness or discomfort, it may be a sign to reduce exposure or switch techniques.
Finally, protect your eyes and surrounding skin. UV lamps can be harmful to areas not intended for treatment. Wearing protective goggles is essential. Also, be patient; visible results may take time. Evaluate your progress regularly. Are you seeing improvements? If not, reassess your technique. Being mindful and attentive can lead to the perfect results you desire.